
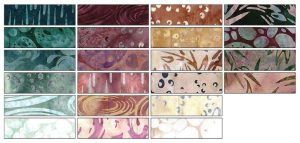
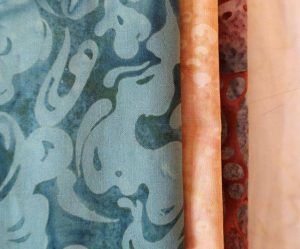
Thank you so much for stopping by my blog for the Tranquility Blog Hop! This gorgeous new line of fabric by Studio 180 Design for Island batik is filled with soothing fabrics in calming colors and prints inspired by nature.
This week we’ve been seeing a theme with the blog hop – the old and the new! On Monday we saw an old favorite redone in Tranquility on the Studio 180 Blog. On Tuesday and Wednesday my friends and fellow Studio 180 Design Certified Instructors Tina of Quilting Affection Designs and Raija of Quilters’ Treasure Chest showed us some gorgeous quilts they designed. Make sure to stop by their blogs to see what they created. Tomorrow we will see another old favorite redone on the Studio 180 blog.
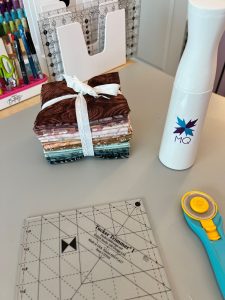
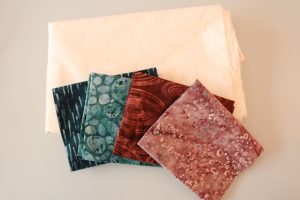
When I received my fat quarter bundle I decided to do a little old and new as well.
One of the best resources available to us as quilters is the free downloads section on the Studio 180 website. They have a whole section dedicated to a block library called BlockBusters. I love these blocks for so many reasons! I use them frequently when I teach to show students what they can do with their tools. There are multiple sizes and color ideas and they use a tool or a technique sheet, and sometimes both. They are a great way to practice using your tools. There are even some quilt settings available.
Here is where you can find the BlockBusters on the Studio 180 website. BlockBusters
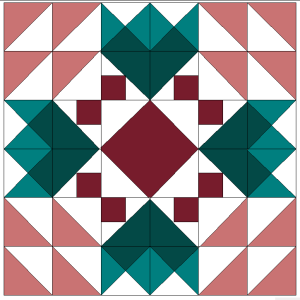
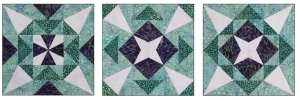
The latest BlockBuster is #71 Illusion. I knew the second I saw it it would be the perfect block for Tranquility.
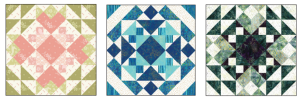
The first thing I do when working with these blocks is play with the Black Line Master. That is the black and white outline of the different units in the block. I played with a few colorations and I decided on this color combination.
I chose these fabrics to use for this block.
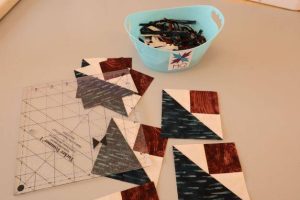
I love making the BlockBusters into wall hangings or table toppers by adding a simple border. They make great gifts! I chose to go with the 18″ block size and got to work making my units.
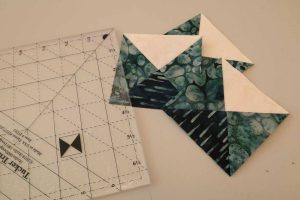
I love the perfect center points I get when making hourglass units and shaded four patch units! The Tucker Trimmer makes it so easy.
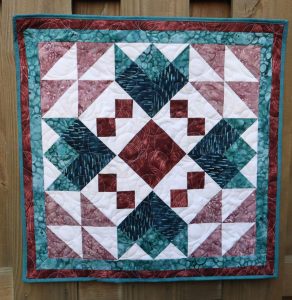
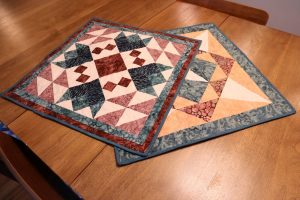
Once I had the final block together I decided to add two borders that finished out at 2″, giving me a 22″ finished block. By placing the darker teal and sienna fabrics towards the center of the block, the secondary pattern really stands out. I love the way the two colors play together and how the lovely patterns in the fabric speak of nature.
Then I started to think about older blocks. I knew I wanted to work with a block that would finish at 18″. I also knew I wanted to work with something that would allow the colors that I used for my second pull to play the main part. I wanted the background fabric to truly be a supporting player.
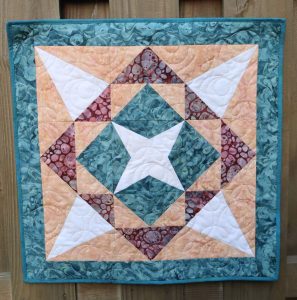
I went with BlockBuster #26 Cactus Blossom that was created in 2018.
The different ways to make this block using Corner Beam, Wing Clipper, and Corner Pop were so intriguing to me. I went with the third layout. I felt it let the background fabric truly recede into the background allowing the more muted colors I picked to stand out.
I got to work making my units. One of my favorite features of my tools is they can make multiple size units! Deb always says a gadget can do one thing and a TOOL can do multiple things. That’s why we create tools! In this block I made 3″ and 6″ Corner Beam units.
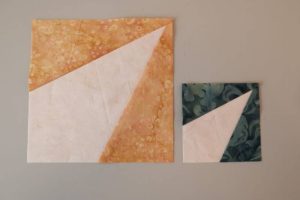
Then I popped the corner of the larger units using the Corner Pop tool.

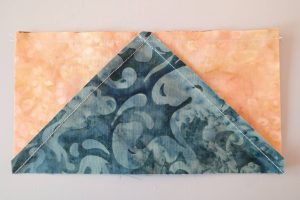
I then started on my flying geese units.
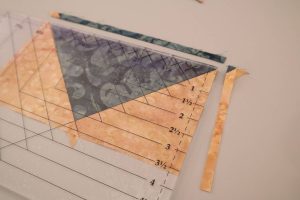
Do you know how to keep the points on your flying geese when sewing them into a block? Make sure your needle hits right where the two threads come together at the point and sew with the unit on top. I get perfect points every time!
Once the block was together I was very pleased with how it turned out. I added a 2″ finished border that finished the block at 22″.
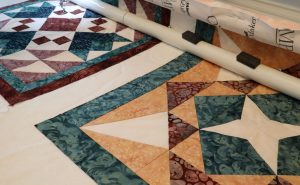
For quilting my husband (who is my fabulous long armer!) and I chose to go with a very round pantograph that allowed the piecing to be the focus. We went with a light gray thread and placed both pieces on the machine at the same time.
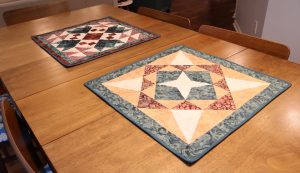
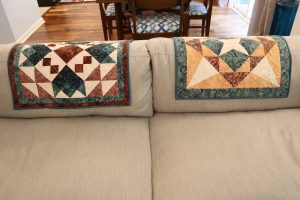
These will make perfect size wall hangings or table toppers. They would also look great on the back of a chair as an accent piece in a guest room. I love how the colors are so calming and peaceful. Tranquility was definitely the right name for this beautiful line of fabric!
While I chose to stick within a narrow tone range for my two projects, some of the other projects that have been made with this fabric work with a wider array of colors. Make sure you stop by the following blogs to see what else has been done.
And don’t forget to return to the Studio 180 Design blog tomorrow where you can enter to win a free fat quarter bundle of Tranquility! Between all of the gorgeous projects we showed this week and the beautiful colors and patterns, you’re sure to find inspiration for your next project. Tranquility is available now in quilt shops.
Thank you so much for stopping by my blog and seeing what old and new things I was able to create with Tranquility. I teach a series of classes on the tools called Tucker Tool Club and we go over how to make BlockBusters in class. All of my classes are taught online over Zoom, so you don’t have to be local to me to learn! Best of all you get to learn from the comfort of your own sewing studio. You can see my current offerings under the classes tab.
Feel free to come back to my website for more tips and tricks as well as the latest and greatest from Studio 180.
Diana