
Welcome to day four of the Squiggles, Dots and Lines blog hop! I’m so excited to share my project using this gorgeous fabric by Studio 180 Design for Island Batik.
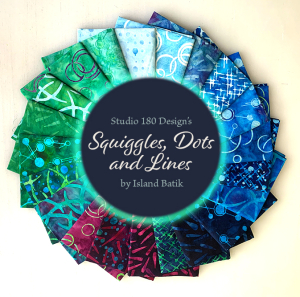
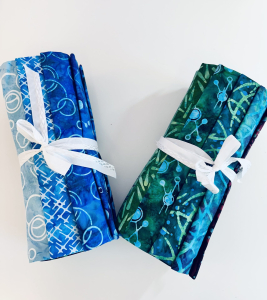
This beautiful collection is mostly greens and blues with accents of purple and magenta. And it is so me! Jewel tones are my favorite and no one does jewel tones like Island batik.
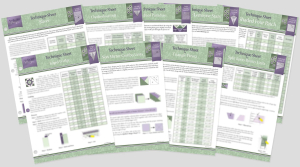
Studio 180 Design challenged us to create projects using any of the technique sheets that are available for the tools. With almost 40 different techniques that cover almost every single tool, I had a wide variety to choose from!
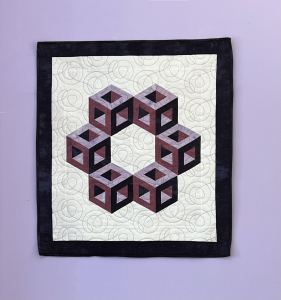
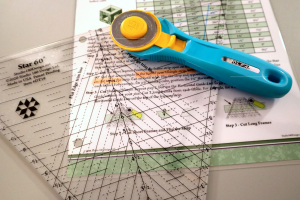
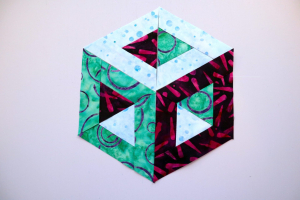
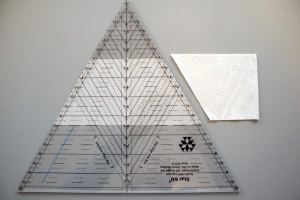
Star 60 is quickly becoming my favorite tool and my favorite technique for the tool is Hollow Cube. To make this unit you need a light, medium, and dark fabric with good contrast. Many times people work within the same color family for blocks like this but I was thrilled to get blue, green, and purple as my colors!

I’ve made a couple of wall hangings using this technique using the Hextravaganza pattern that comes with the tool. I knew for this project I wanted to do something different.
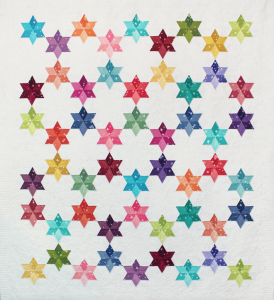
I went through the Studio 180 Design library of patterns for inspiration. I love the quilt Tulip Trails. I wondered if I could substitute the Hollow Cube units for the Star 60 units that are in the pattern. After looking at the layout I knew I would need to turn the quilt 90° to make the Hollow Cubes work in this design. Once I did that I realized that Tulip Trails is a larger version of Hextravaganza. I decided that I wanted to put two half hexagons together on the short side.
I got to work cutting my strips and triangles from my fabric. This is such an easy technique! But there are a few things you have to pay close attention to so that the frames on the units come out the right size. I like to use Glow Line tape to highlight the important things I want to remember.
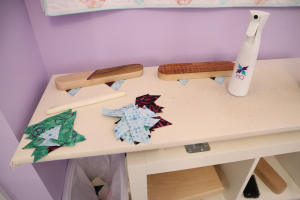
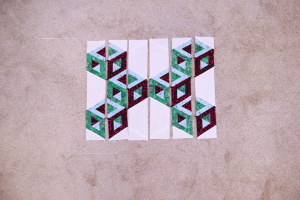
Once I had everything cut I stitched my units. I’ve found that using a clapper and Magic Quilting and Crafting Spray really makes a difference in my pressing. I get nice crisp seams and the spray adds a little bit of stiffness to the units, making them easy to trim down.
Once the units were pressed it was time to trim using the tool. This is such a fun and satisfying process! You trim down all three sides of the triangle. Following the pressing instructions on the technique sheet will allow the seams to nest when putting the final cubes together.
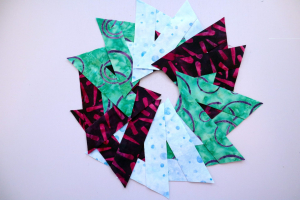
If I were making Hextravaganza I would sew the cubes together according to the technique sheet but for the layout I was using I needed to sew the project together in columns.
One of the biggest tips I can give you for Star 60 units of any kind is don’t get rid of the dog ears!! The dog ears make all the difference for matching points when you are putting a quilt together. Most of the time they get in the way, but for Star 60 they are helpful.
With this type of construction I also had to use half hexagons instead of companion triangles. I followed the chart for my chosen size of unit – 3″ finished – and cut precision hexagons. There was no need to make them oversized since the Hollow Cubes were already trimmed to the exact size they needed to be.
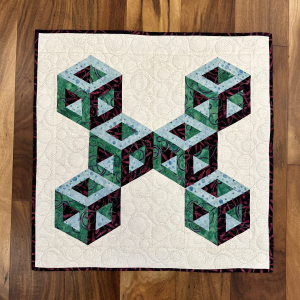
I love the way the final project came out! For the quilting I chose a pantograph that had lots of circles to echo the circle shapes in the prints of the fabrics.
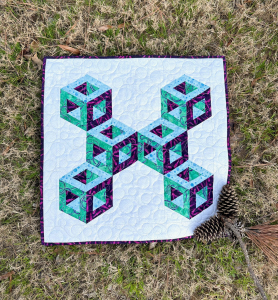
I love how different the fabrics look in outdoor sunlight!
Don’t forget to stop by the blogs of my fellow CIs this week! They all have gorgeous projects and great tips for the tools and techniques they chose to work with.
Monday, March 11 – Tina Dillard – https://quiltingaffection.
On Saturday the 16th the Studio 180 Design blog will have a great wrap up post, including how you can purchase fabric bundles of Squiggles, Dots and Lines. Of course I snagged a one yard bundle of this gorgeous collection so I can make more beautiful projects!
If you’re interested in more great tips and tricks like the ones in this post, think about joining me for a class. I teach online over Zoom, so you can sew from the comfort of your own studio. Feel free to contact me at murgabooquilter@gmail.com to learn more about my class offerings!